1. Preparation
Install the Claude Desktop app by following the MCP Quickstart guide.https://modelcontextprotocol.io/quickstart/user
2. MCP Server Connection Method
ARGOS Identity MCP server uses the web URL method. This method can be used immediately without any installation and always provides the latest version of the documentation.3. Connect to MCP Server
3.1. Verify MCP Server URL
Check the MCP server URL provided in the MCP section of the Mintlify dashboard:3.2. Configure claude_desktop_config.json
Configure theclaude_desktop_config.json file as follows:
Location of the
claude_desktop_config.json file:- macOS:
~/Library/Application Support/Claude/claude_desktop_config.json - Windows:
%APPDATA%\Claude\claude_desktop_config.json
3.3. Restart Claude Desktop
After saving the configuration, completely quit and restart the Claude Desktop app.After restarting Claude Desktop, the ARGOS Identity MCP server will automatically connect.
4. Usage
When you launch the Claude Desktop app, you can easily retrieve information from the ARGOS Identity manual by entering appropriate prompts.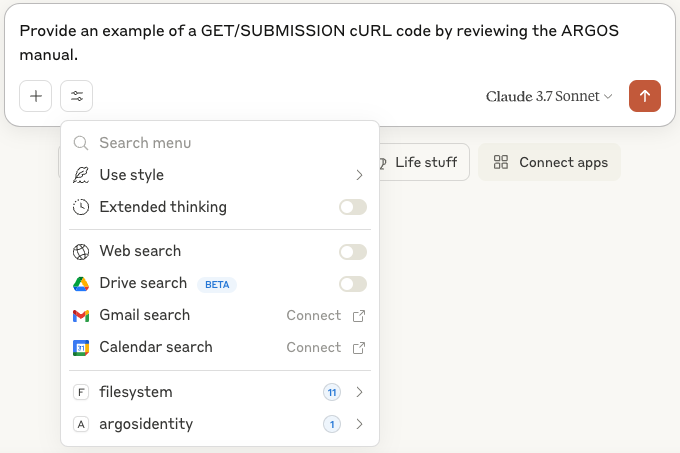
Once the MCP server is properly connected, Claude can search ARGOS Identity documentation and answer questions.