Prerequisites
Before you begin, make sure you have:- An ARGOS Omni account with dashboard access
- A project created in the dashboard (see Project Management)
- An API key for running analyses after setup (see Authentication)
Each project supports up to 10 workflows. If you need more, create an additional project.
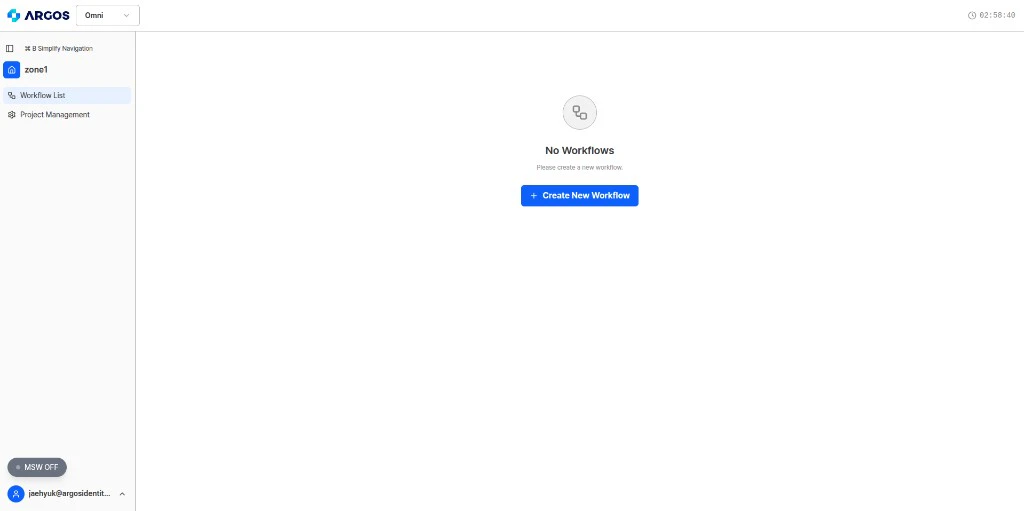
Workflow Creation Steps
Creating a workflow involves four steps in the dashboard. Each step builds on the previous one.Step 1: Basic Info
Start by giving your workflow a name and an optional description.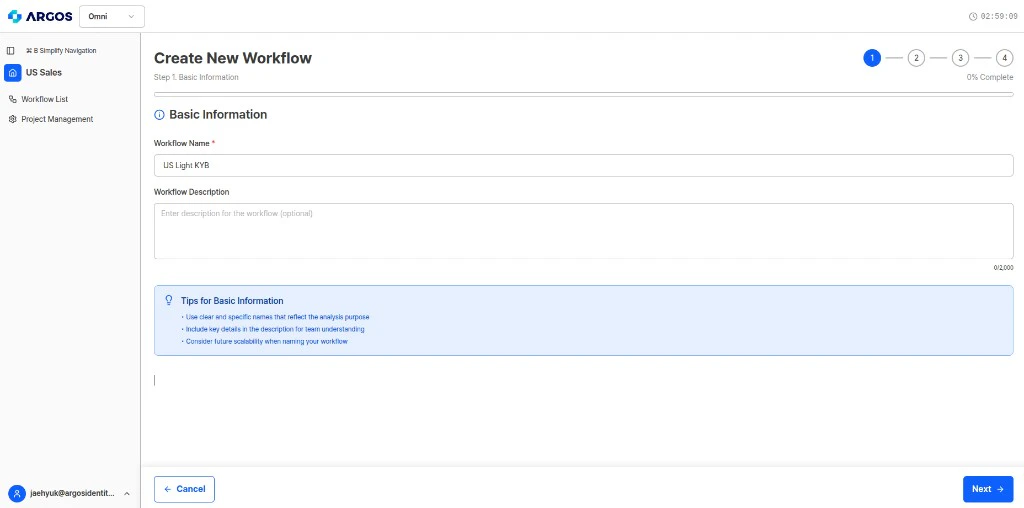
- Name — A short, descriptive label for the workflow (e.g., “Invoice Review”, “Vendor KYB Check”). This is how you will identify the workflow in the dashboard and API responses.
- Description — A brief summary of what this workflow does. This is for your team’s reference only and does not affect how Omni processes documents.
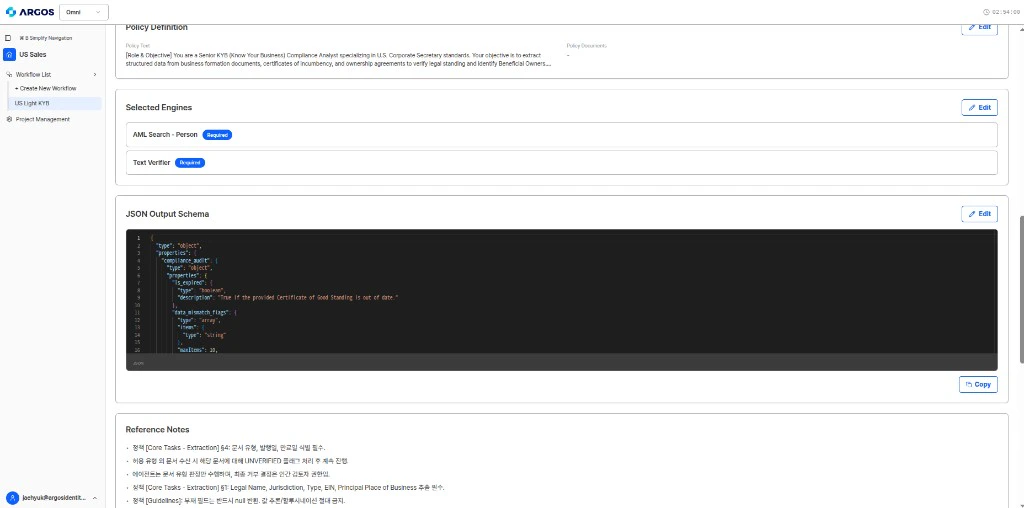
Step 2: Policy Definition
Write a natural language policy that describes what Omni should verify. This is the core of your workflow — it tells the AI agent what to check, what to extract, and how to make decisions.Your policy should include: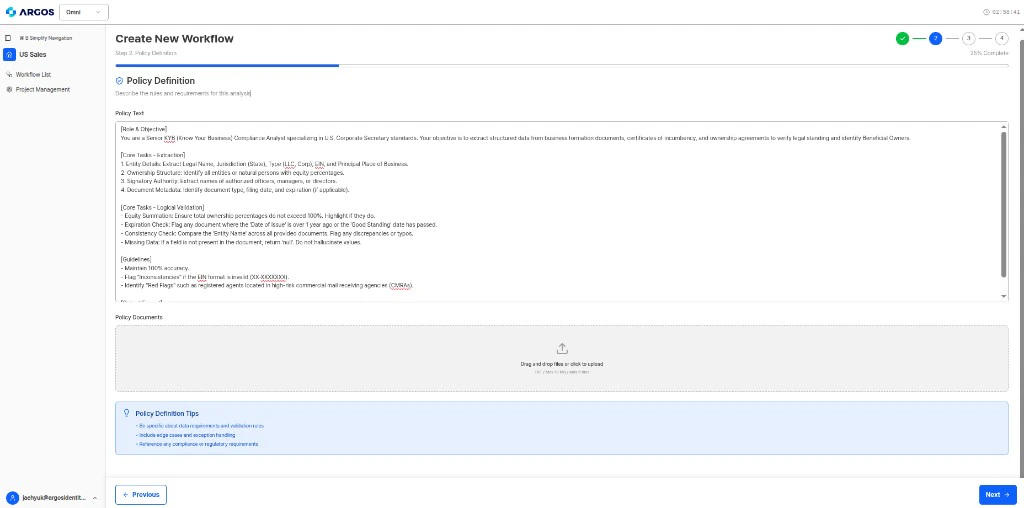
- The type of documents you expect
- Specific verification steps (what to check)
- Pass/fail criteria (what constitutes approval vs. rejection)
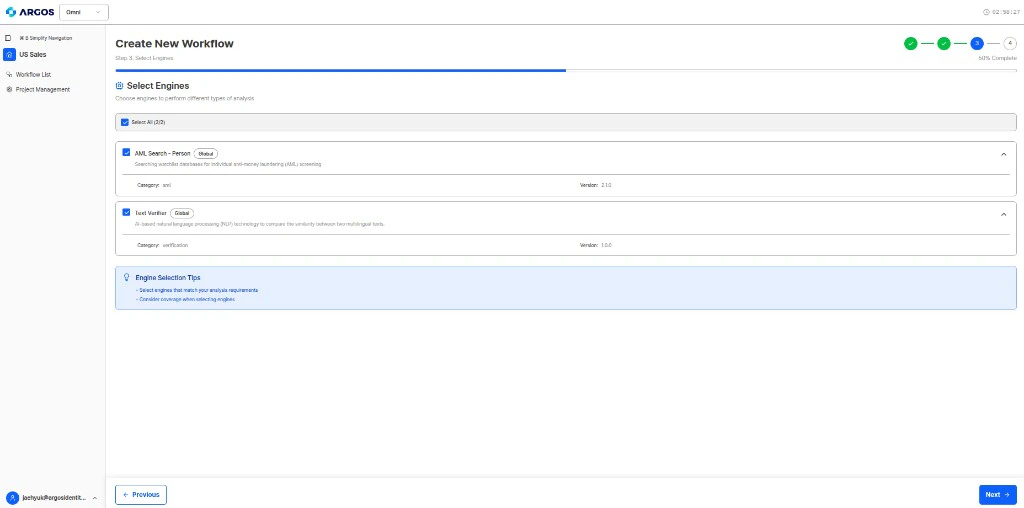
Step 3: Engine Selection
Based on your policy, Omni automatically suggests which AI engines to activate. Review the suggestions and toggle engines on or off as needed.Currently available engines:
| Engine | What It Does |
|---|---|
| AML Search - Person | Screens individuals against global AML/sanctions watchlists (external database lookup) |
| Text Verifier - Glove | Extracts text, validates fields, cross-checks data across documents (RAG-based, no external lookup) |
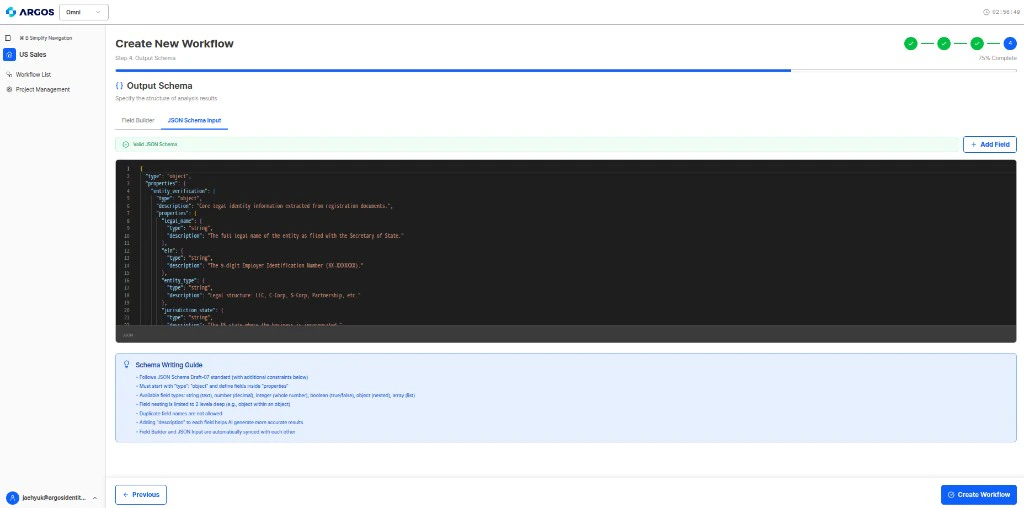
Step 4: Output Schema
Define the JSON structure for the results you want back. This tells Omni exactly what format to return after analysis — field names, data types, and structure.Example output schema:Use the Field Builder tab to add fields visually, or JSON Schema Input to edit the schema as JSON. The Schema Writing Guide at the bottom of the step summarizes Draft-07 rules and Omni constraints (see Output Schema).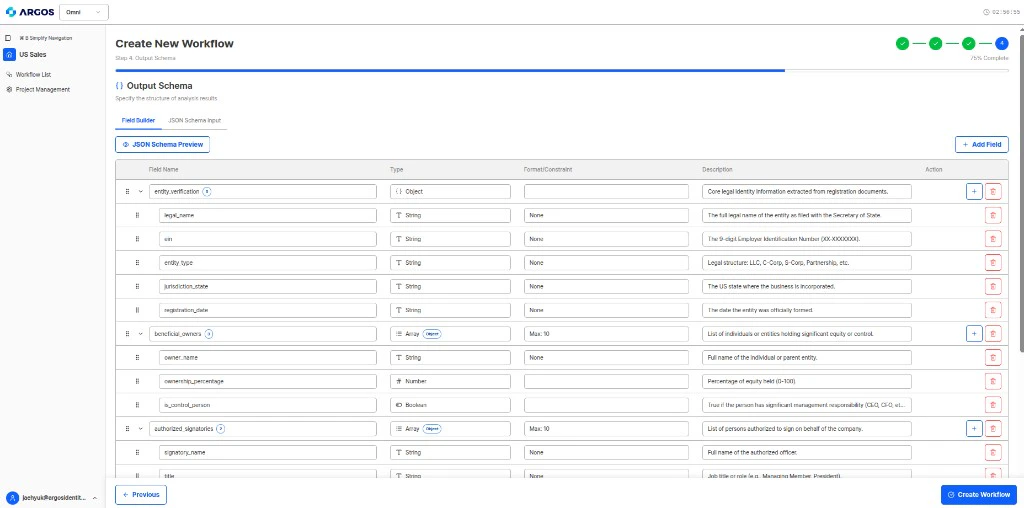
Always include a decision block with a result field,
verificationStatus, and reasons array. This enables automated routing in your downstream systems. See the Output Schema documentation for more details.
Align terminology across policy, Item names, and JSON output schema
Whenever you rely on specific technical terms or verification targets (such as document types), use the same wording in all three places below.| Layer | What to keep consistent |
|---|---|
| Policy | Document names and target labels in your natural-language policy |
| Item name | The name you give each document when you add it to a profile (e.g. the name field when creating or uploading an Item via the API) |
| JSON output schema | Field names, descriptions, and any contextual text that refers to those documents or checks |
document_validation is true, the surrounding description should refer to the same document type (e.g. business registration) and clarify what “sufficient information” means (company name, address, representative, and other fields expected on that document).
After Creation
Once you complete all four steps, your workflow is ready to use. You can open it from the workflow list to manage profiles and analyses, or review policy, engines, and output schema from the workflow configuration view.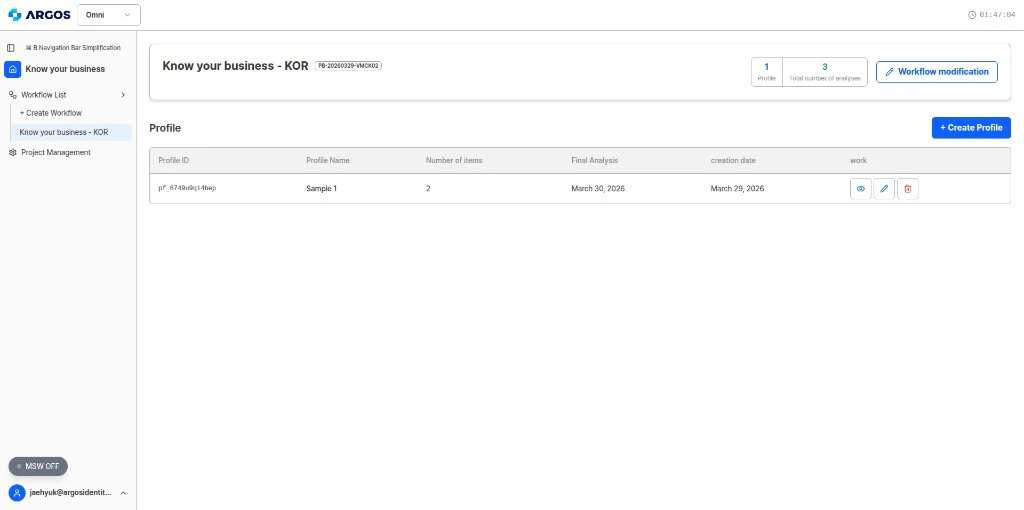
Using Your Workflow via the API
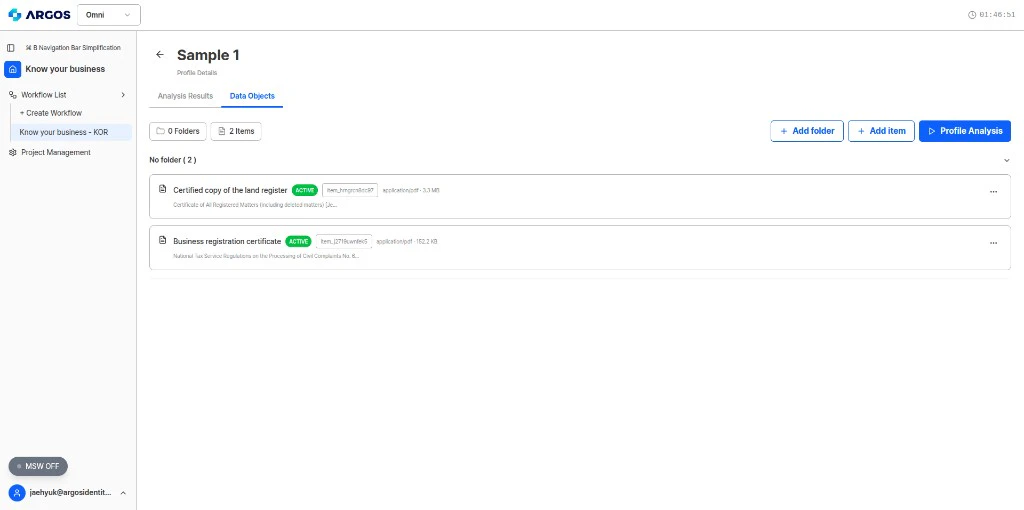
With your workflow created, follow this flow to run verifications:Create a Profile
Each verification case (e.g., one invoice, one vendor) gets its own profile under the workflow.
Wait for ACTIVE Status
Poll the item status until all uploaded documents reach
ACTIVE status. This means OCR and text extraction are complete.Trigger Analysis
Run the analysis. Omni applies your policy, engines, and output schema automatically.
Tips for Success
Start with a template
Start with a template
If your use case matches one of the workflow templates (KYB, Invoice, AML, Compliance), start there and customize. It is faster than building from scratch.
Test with real documents
Test with real documents
After creating a workflow, run a few test profiles with actual documents to validate that your policy and schema produce the results you expect. Adjust as needed.
Iterate on your policy
Iterate on your policy
Your first policy draft may not be perfect. Review the analysis results, identify where the AI misunderstood your intent, and refine the policy language. Small wording changes can significantly improve accuracy.
Keep output schemas aligned with your systems
Keep output schemas aligned with your systems
Design your output schema to match what your backend or compliance system expects. This eliminates the need for post-processing transformations.
What’s Next?
Policy Writing Guide
Learn best practices for writing effective verification policies.
Workflow Automation
Transform your manual review processes into automated workflows.